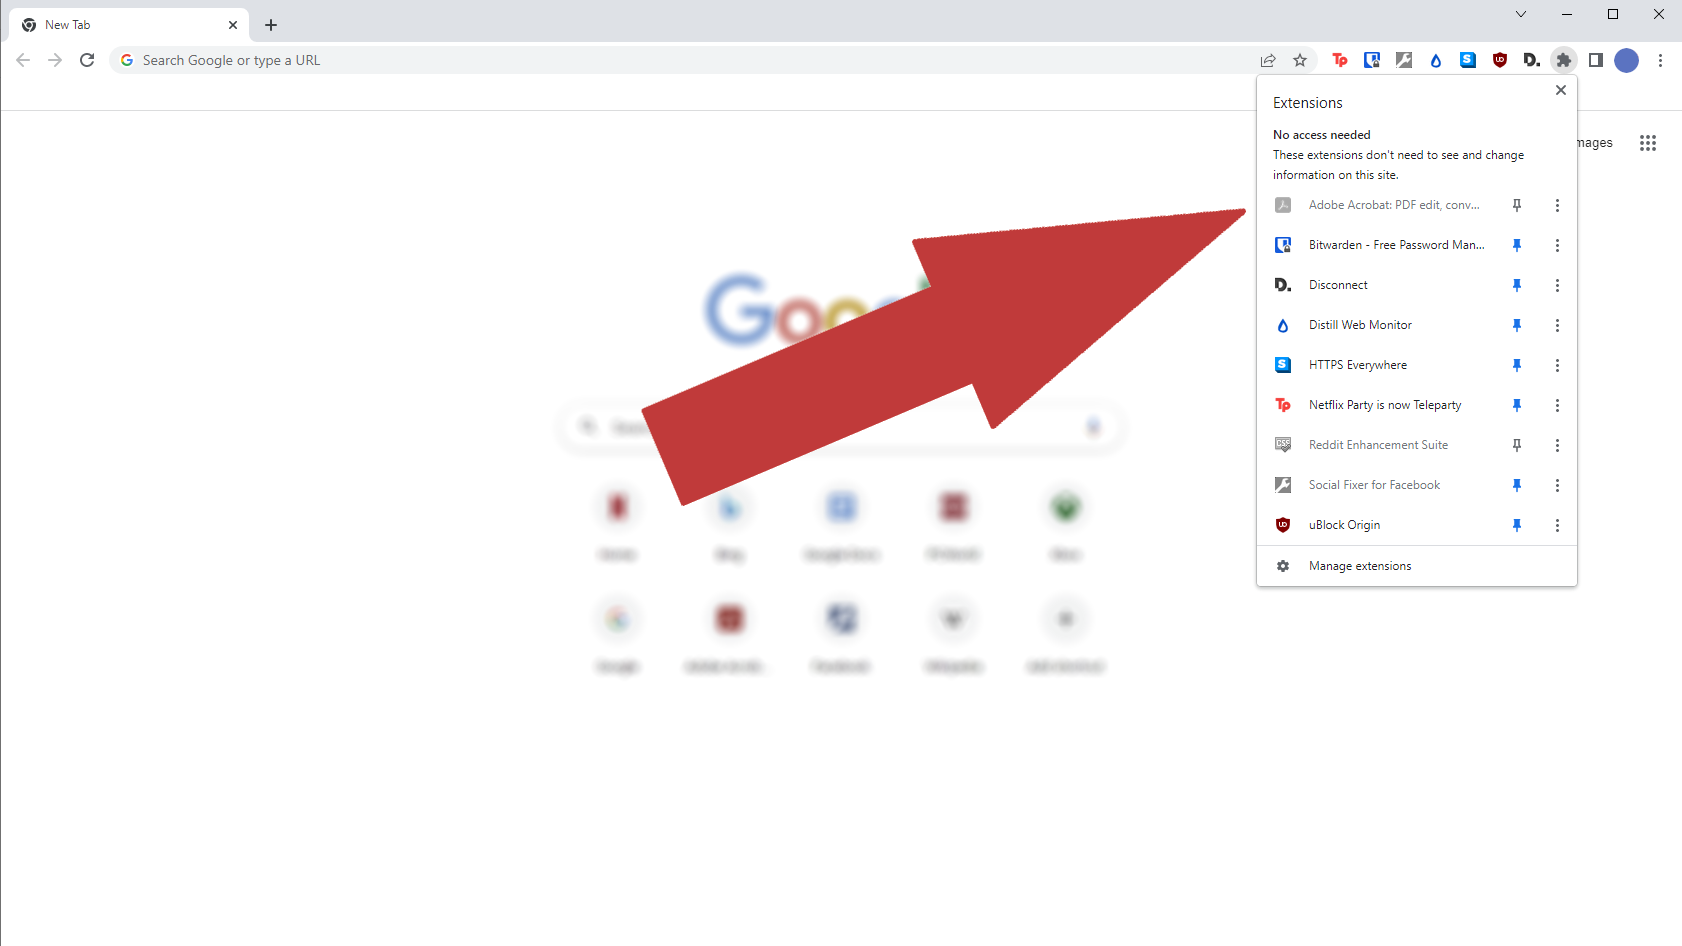
If you're looking for a quick and easy way to shorten links directly from your Chrome browser, the Trimd Chrome extension is a great solution. Follow these simple steps to install and start using the extension.
Step 1: Download the Extension
Download the Trimd Chrome extension file using the link provided: https://trimd.cc/chromeextension.zip.
Step 2: Extract the Extension Files
Once the download is complete, locate the chromeextension.zip file in your downloads folder. Extract the contents to a convenient location on your computer.
Step 3: Open Chrome Extensions Page
Launch the Google Chrome browser.
In the address bar, type: chrome://extensions/ and press Enter.
Step 4: Enable Developer Mode
At the top-right corner of the Extensions page, you will see a toggle switch labeled Developer mode. Click the switch to enable Developer mode.
Step 5: Load the Unpacked Extension
Click on the Load unpacked button.
In the pop-up window, navigate to the folder where you extracted the extension files.
Select the folder and click Open.
Step 6: Verify Installation
Once loaded, you should see the Trimd extension listed among your installed extensions.
Step 7: Test the Extension
Locate the Trimd extension icon in the Chrome toolbar.
Click on the icon to open the extension.
Try shortening a link to confirm the extension is working correctly.
Conclusion
By following these steps, you can successfully install and use the Trimd Chrome extension to shorten links quickly and efficiently. If you encounter any issues, try reloading the extension or restarting your browser. Enjoy seamless link shortening with Trimd!

